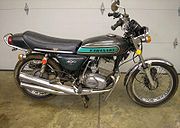
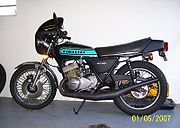
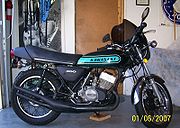
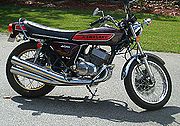
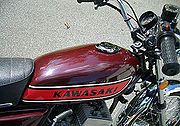
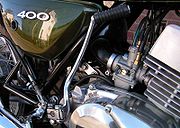
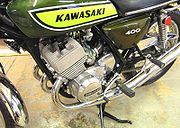
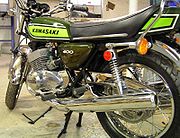
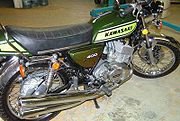
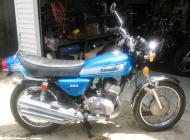
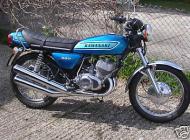
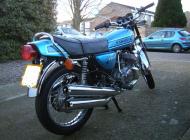
Kawasaki KH400 restoration
 By
Mal King,
Bandicoot Trailers
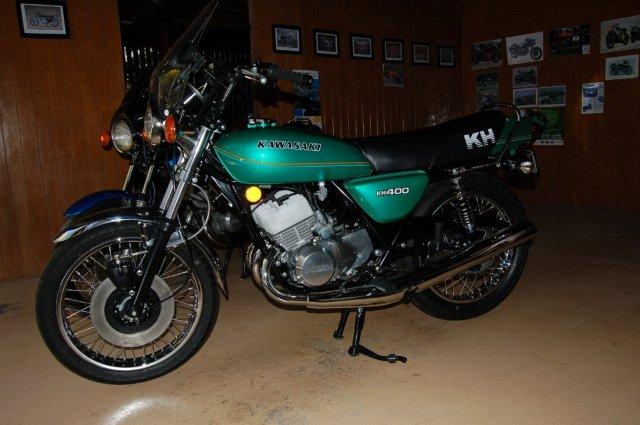
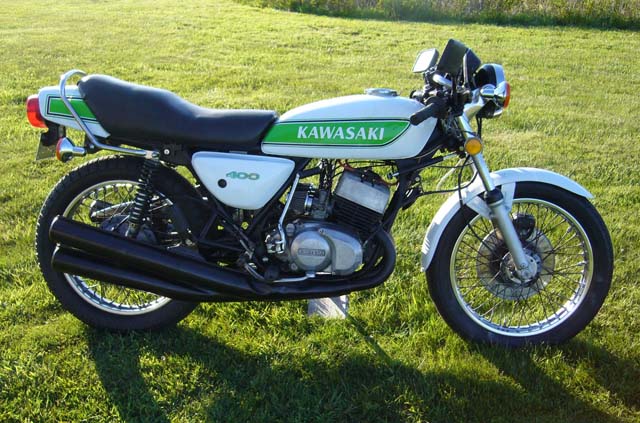
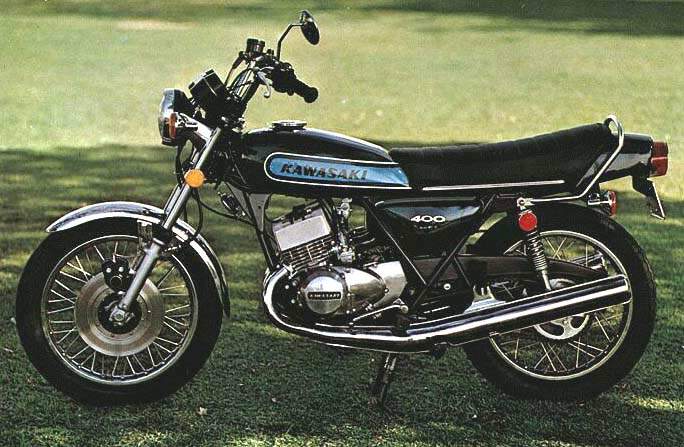
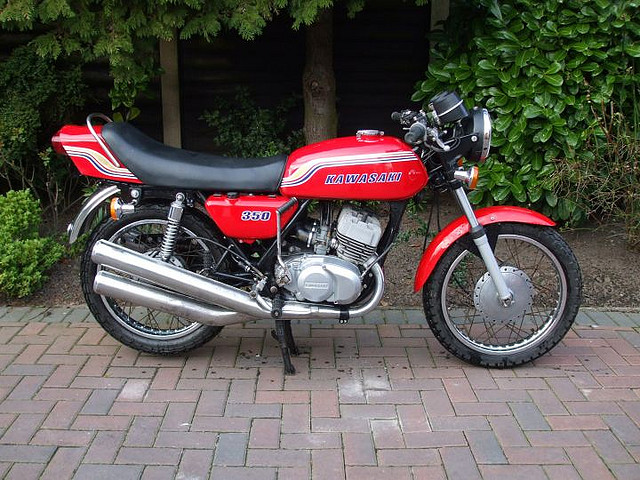
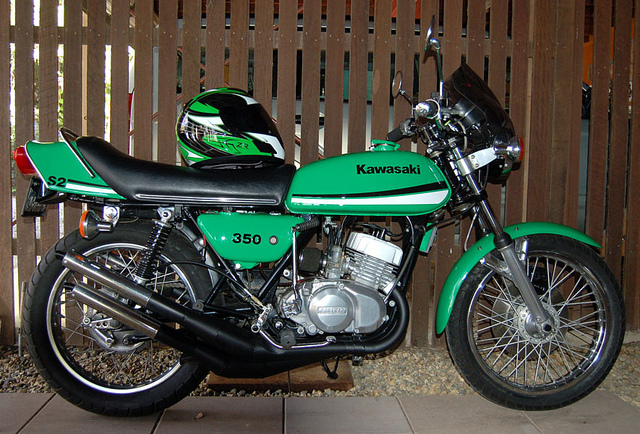
In 2009 I purchased a Kawasaki S2 350cc triple. Not long after, while skimming through a Bike Trader magazine at the local newsagent (as you do) , I happened upon an ad for another Kawasaki two stroke triple. This one was the later KH400, supposedly a much nicer bike to ride than the S2. I expect you know what happened next.
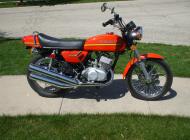
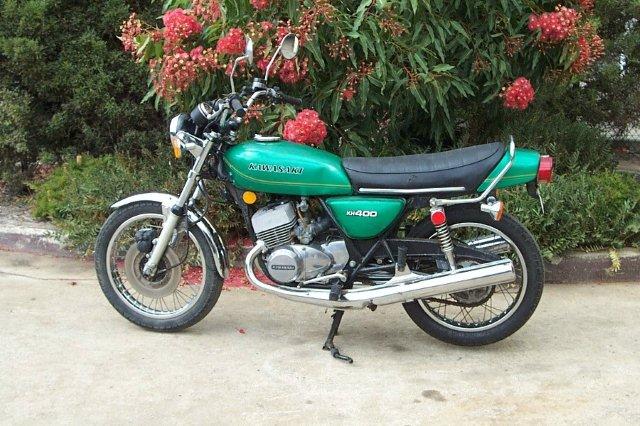
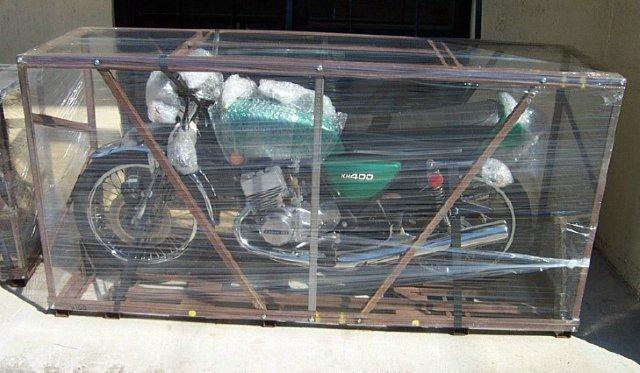
Don’t they always look good in the photos!
The bike was advertised as ‘restore or clean up and ride as is’. After seeing a couple of photos I had the bike shipped up from Victoria. Don’t they always look nicer in the photos. On first inspection I found a broken throttle cable, completely gummed up carburettors and the brake fluid had turned into a crumbling solid. It had all the signs of a bike that had been parked outside in the Californian sun for a very long time, as of course had been the case. The bike, however, kicked over with good compression, just as the man had said.
 Decisions
and a bit of a rant
So the decision to restore the bike was made there and
then. An engineering background and some admitted love/hate relationships
working on mostly Italian bikes further boosted morale.
I remember one particular Italian bike where it was necessary to remove
the swing arm to be able to drop the battery out to top up the fluid.
Give me a break! The manual advised lifting out the battery from above;
pity about the frame strengthening gusset running across the top. I took
the opportunity to cut an inspection aperture in the said gusset.
Handling remained just as crisp by the way. Surely the Kawasaki wouldn’t
have any similar tricks up its sleeve? It did put up a bit of a fight as
I tried to remove the air box and battery carrier, but otherwise was
straightforward enough to work on.
Words of wisdom
A good basis for a rebuild is all rather obvious really:
buy the best condition bike you can afford with as much of the
original kit intact. For example to replace the exhaust system
on a triple is going to be very expensive, that’s if you can find one. If
you fit after market pipes you have all but destroyed the originality and
character of the bike.
The start
Not generally known for my patience, I surprised myself
by taking lots of detailed photographs BEFORE the strip down. I also had
a similar bike for reference, so although it was my first resto I felt
reasonably confident I could see the job through.
I parked the bike in an out of the way corner to start the strip down. I
had already decided to be quite methodical in my approach, again
surprising myself and buying a stack of storage bins and a large note
book. I took a photograph of every part as it was removed and logged down
in the book every screw type, length, head type, plain washer under head
etc, etc. I then stored the part in a relevant bin ready for the next
stage, a good clean up, replate, replace, that sort of thing.
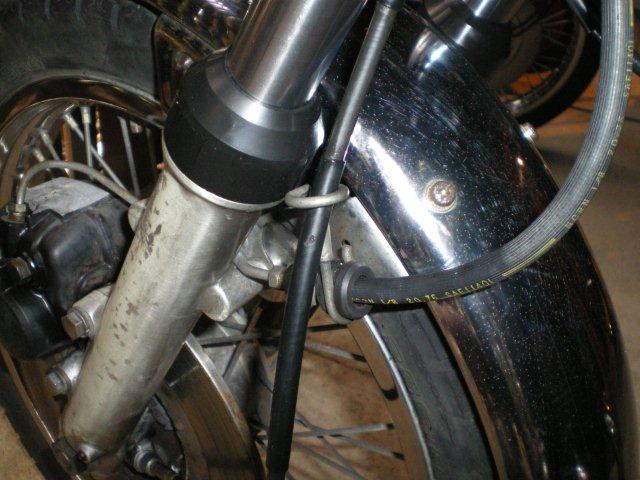
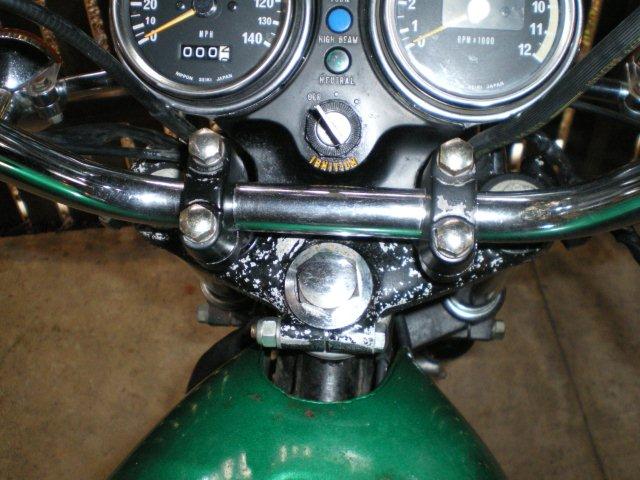
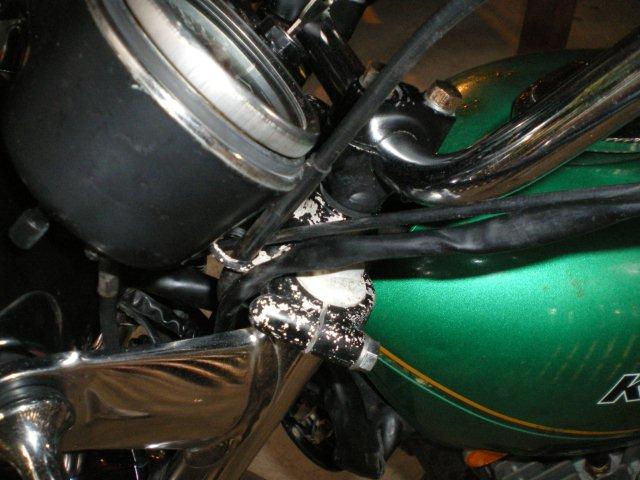
No turning back
I stripped the bike down in what seemed a logical order,
remove tank, side panels and tail unit. With the paintwork out of the way
I removed the wiring loom, taking note of the various cable runs
especially, which way the main loom wraps around the frame. I got that
wrong in one place on the rebuild, it took a good while to correct. I
then removed the ancillary parts and remembered struggling to remove the
air box and battery carrier. Bit of a catch 22 really. Needed to remove
the air box to get to the battery carrier, but needed to remove the
battery carrier...
A mate helped to lift the engine from the frame as per workshop manual. A
milk crate came in useful to support the engine. It is a good idea to
have a storage place in mind first, especially so with a heavier engine;
the triple engine luckily is quite light. Remove wheels, drive out swing
arm bolt, remove fork stanchions and yokes, you're done.
It is a good idea at this stage to sit down and have a cup of tea (being
a pom) or a beer, to consider the next stage. The big thing that kept
coming back at me was to work in a methodical manner, take your time and
try to enjoy it. It's easy just to pull a bike to pieces and leave a pile
of oily bits on the floor! I separated all the parts into storage bins,
powder coat, replate, restore and so on.
A sense of order
I prepared the parts for the various refinishing
processes based on lead times, chrome plating seems to take a while,
powder coating seems to happen quite quickly. Not having any trade
contacts I went purely on recommendations on which people to use. Club
membership comes in handy at this stage, especially if like me you are
new to an area.
More decisions and oh dear
It is worth mentioning I chose powder coating for the
frame and some ancillary parts based on cost and durability. I know a lot
of folks prefer a more original paint finish.
I had decided not to be too precious over originality and went for a
durable finish and what I thought some useful upgrades on the rebuild.
You certainly learn were the factory cut costs and what can easily be
improved upon with modern processes and parts on a project like this.
Overall, I did not stray far from the original and just went for tapered
head race bearings, braided brake lines, more modern radial appearance
tyres, stainless wheel steel spokes, you get the idea.
Back to powder coating. You need to be prepared to take some time in
identifying areas that do not need powder coating, as it is quite a thick
coat and very hard, read hard to remove. (There are books written on the
subject). Likewise be prepared to clean out threads and earthing points
on getting the powder coated parts back.
In my particular case I spent some time talking to the powder coater,
himself a biker and used to coating bike projects. He assured me he would
mask ALL relevant parts with the special high temp tape. I have to say in
spite of this when I received the parts back, although an excellent job,
i.e. nice and shiny, uniform finish, this also included INSIDE the fork
stanchions and master cylinder. I was very lucky to find a specialist who
could remove this, AT a price of course, please be warned.
Getting into it now
With all the various parts listed (I kept copies for my
own reference) and sent off to the specialists for refinishing it was
time to take stock and make out yet another list of parts that were
beyond redemption or missing for replacement. Where ever possible I tried
to obtain NOS (new old stock parts.) This is when you are pleased you
chose a model with good vintage spares back up. I went through a learning
curve but am pretty sure I know most of the main players in the supply of
vintage Kawasaki parts, both new and used. Amazing how much new old stock
is still listed and available from Kawasaki themselves by the way.
More work but worth doing
It is probably worth mentioning at this time that I
cleaned the parts as best I could before sending off for refinishing. Not
too many people want their chroming vats contaminated with two stroke
exhausts, they will also charge accordingly for any pre-treatments.
Cleaning the parts I could reuse
Time to get mucky again; old clothes and plenty of
degreaser. I used a plastic washing up bowl set up at camping stool
height to save grovelling on the deck, or more correctly to obtain a
useful working height. A pair of glasses for eye protection, rubber
gloves ditto for hands and got stuck in. I did most of this outside in
the Queensland sunshine.
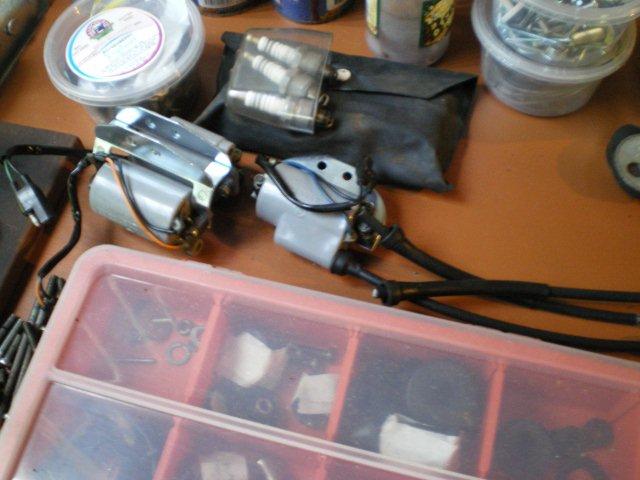 I
started off cleaning the control cables, for no particular reason other
than you have to start somewhere. These came up remarkably well, as did
the wiring loom. I hung all these up (vertically) on nails tapped into
the woodwork around the garage. This kept them out of the way and took up
the least amount of room and I was able to run some lubricating oil
through the cables as well. I could then put a tick against these as
ready for re-assembly.
As I went through the pile of parts I started to continue the theme and
hung as many parts up on the garage walls as I could. Other parts I
simply placed into a rack of storage bins.
With everything cleaned up as best I could I decided to repaint certain
parts. This included the metal ferrules on the ends of the control cables.
The end result was pleasing and saved a few dollars, well quite a few
actually on buying new cables. I even managed to get the broken throttle
inner cable repaired. Actually a new cable would have been cheaper!
New nuts & bolts
With all the bits of bike either away at the finishers
or hanging on the garage walls or cleaned and repainted and waiting in
storage bins I had time to consider my next move.
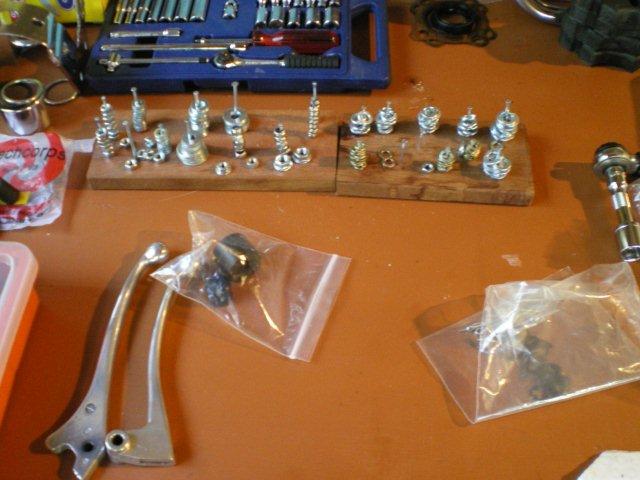 I
chose to take my list of replacement nuts bolts and washers to the local
stockist. In my case everything was very sensibly (thanks Kawasaki) in
metric threads. Mostly metric ‘Coarse’ threads, but some metric ‘Fine’. I
chose to use “nyloc” self locking nuts in place of spring washers and
plain nuts were possible. Sometimes it works; sometimes the physical size
is too large. You just have to make a judgement call on what looks right.
Switch gear
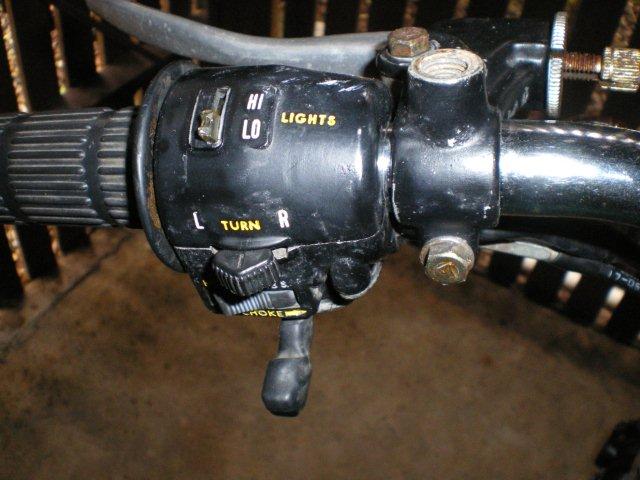
I chose this time to have a look inside the switchgear housings. More digital pics and a spot of penetrating goo on the various fixings. I found it best to really take my time and not rush this part especially. The fixing are quite small M2 and M2.5. I also took note of the various insulating washers under the heads of some screws. I took the precaution of laying out a large piece of rag to work on just in case any of the small parts tried to go AWOL.
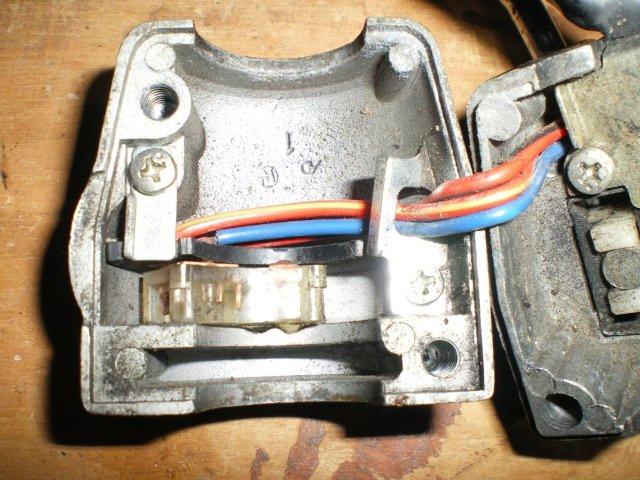 After a good clean up and check of all the various conducting surfaces it
was time for careful re-assembly. In my particular case I had sent off
the switch housings with the rest of the parts for powder coating. Of
course when these parts come back all the markings are powder coated over
too. I spent a good while with an artist’s brush and pots of white and
yellow enamel refilling the original engravings.
More decisions and send bits off
Well, I seemed to be getting on okay. More mental notes…
Note 1: engine still sits on milk crate. Did I order a gasket set? Note
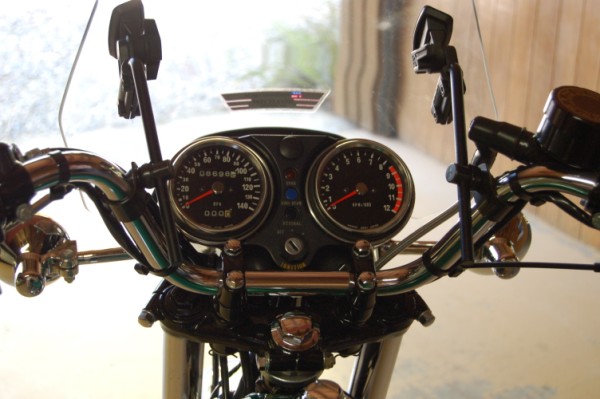
2: Speedo and rev counter dials faded by years of sunlight. Order new
dial faces as this can badly upset the overall effect of any restoration,
have seen it many times. Bike looks like new; the dials really shout back
at you, I’m at least thirty years old. Note 3: Same goes for paintwork,
tank side panels and tailpiece all faded paint. Choose colour and order
correct decal set. Have I forgotten anything? Well of course I have; just
won’t find out what till later!
 Double check
What to do next? Made sure all the parts I needed were
on order: check. All parts for refinishing out there: check. All other
parts, cleaned, repainted and ready to go back on the bike: check.
Engine & Carburettors
Right, it was then time to have a look-see at the motor.
I had prised out the rubber engine mounts earlier and although they
appeared to be in very good condition I would have replaced them as a
matter of course, but was unable to source any new ones. So I lubed the
old ones with “just like new” rubber enhancer ready for reassemble.
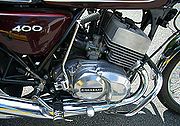
The motor appeared in good condition externally so I just blocked off the
important little places and gave it a degrease and hose down. Next I
removed the carburettors. They were completely gummed up but easily
stripped and cleaned with the help of some proprietary carb cleaner and a
good brush for the outside castings.
The engine had good compression so I limited the work to just removing
the cylinder heads for a check inside. The engine internals looked to be
in excellent condition with no lip on the barrels etc. and generally very
clean. This is an advantage with buying a bike with low verified miles I
guess, shouldn’t be too much wear and tear. The heads I masked up and
took to a local shop for a very light sand blast.
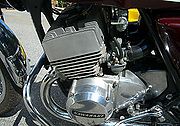
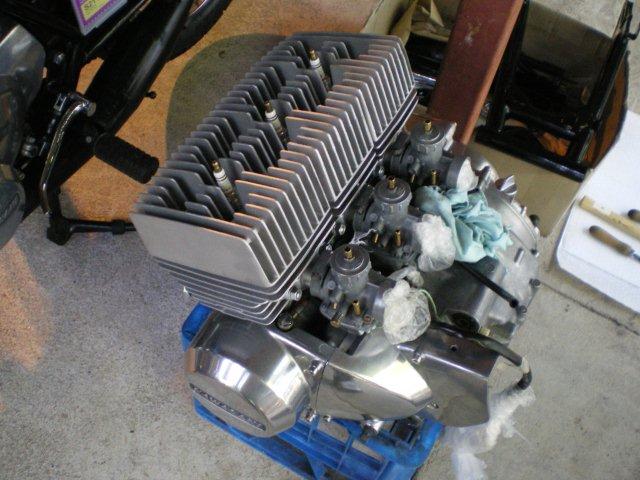
I replaced the heads, happy that I had ordered the new gasket set and
masked and sprayed the barrel and heads with high temp aluminium finish
paint. Once I had hand polished the engine casings I was quite satisfied
with the overall effect. Replaced the carbs and called it job done.
 It
may sound odd but I was not overly worried about the engine. I just
treated it as a unit I can work on “if necessary” another time.
My rationale for this went something along these lines. As long as these
Kawasaki two strokes have compression and a spark it is hard for them not
to go. They are of a very simple, read easy to work on, piston port
design. They are also very robust. If you do need spares they are cheap
and plentiful. Oh and the sound of a two stroke triple is like no other!
I knew now that I could remove the engine unit in around twenty minutes.
If ever I do need to then that is the time I will get the engine bead
blasted and refinished professionally.
On the home straight
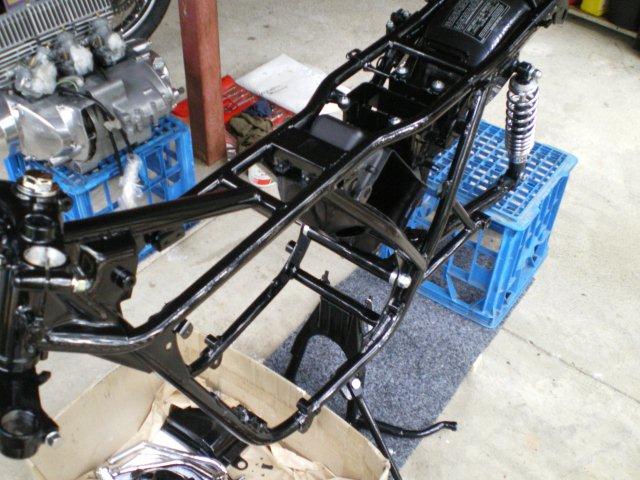
Next was the good part, as all the new and refinished parts started to arrive. I spent the best part of a day checking that I had all the parts back from the powder coaters and started to clear all the threads, earthing points and the like for unwanted powder coat. It was quite difficult to remove some of the baked on masking material. But the job got done; they really had done an excellent job. I just had one piece missing which they could not find. So I found a local machinist to make up a new chain adjuster block from the pattern I already had. Although only a small cost in itself, they do all start to add up.
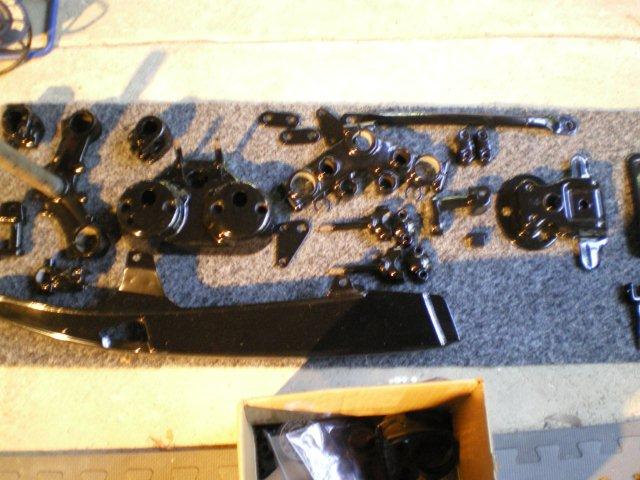
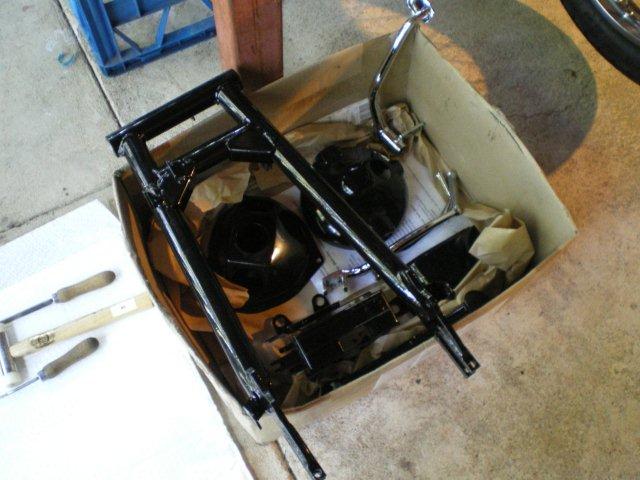
Thought things were going too well!
Rather more disappointing was the powder coat on the
inside of the fork stanchions and brake master cylinder. I count myself
fortunate to have found somebody skilled enough and with the right
equipment to hone the parts clear of powder coat. Now what was I saying
about all the small costs adding up? I had the forks and brake calliper
rebuilt by the same people so I got them back all ready to fit on the
bike, which was nice.
 The rebuild
I started the rebuild proper by first fitting the swing arm; I had already pressed in the new steel bushes. Armed with digital photos I carefully inserted the freshly greased swing arm bolt from the correct side and slid on the plain washer and new nyloc nut. I did not fully tighten anything fully at this stage, but just “nipped” things up.
So that’s what it looked like
Same process to fit the steering stem with the new
tapered bearings, followed by the fork legs themselves. Now seemed like
the right time to fit the wheels back into the frame. It started to look
like a bike now. I really was taking my time now and making sure
everything went back correctly and easily without using undue force on
anything.
Next I fitted the battery holder and air box followed by the rear wheel
guard. I decided to fit the engine back in at this stage. I placed all
the lightly greased engine bolts out in order, and laid some rag on the
frame to look after the fresh powder coat. A mate helped me offer the
engine up into the frame while my wife slipped in a couple of engine
bolts. It really was that easy with the light weight of the Kawasaki
engine. I tightened everything to the correct torque with the steering
head bearings adjusted in the time-honoured fashion.
Easily done?
After fitting the headlight shell it was time to
install the wiring loom. I just loosely cable tied it in place at this
stage. I did manage to get it the wrong way round one of the frame tubes,
even with the photos. Save to say I got a bit angry with myself at this
point as it took quite a while to feed it back through without straining
the cabling. I was determined not to do any disassembling at this stage,
so struggled on.
Now it was just a case of fitting all the rest of the ancillary
components back in a rational order, so I will not labour this stage.
Once everything was back in the right places I fully connected the wiring
loom and tensioned the securing cable ties.
It really did look like a Kawasaki now. I connected up all the control
cables and checked the cable runs and roughly adjusted the carburettors
and clutch while still easy to get to.
Happy days
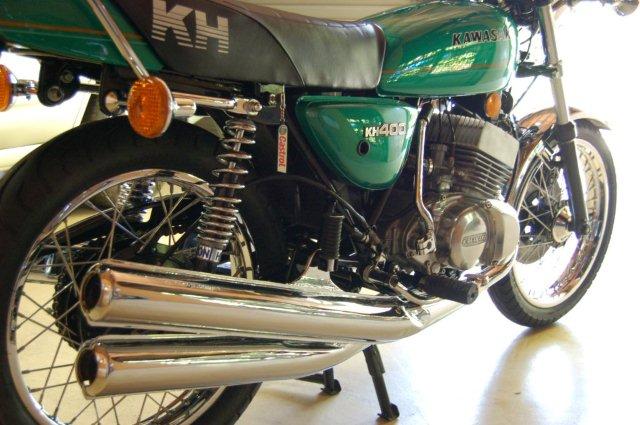
On the home run now. Time to bolt on the newly chromed
exhaust system. How good did that look? All I needed now was the new
paintwork.
This got a bit frustrating, as I still had to wait another few weeks
although I had got it to the painter in plenty of time. I eventually got
it back and what a superb job, I just could not fault it. A couple of
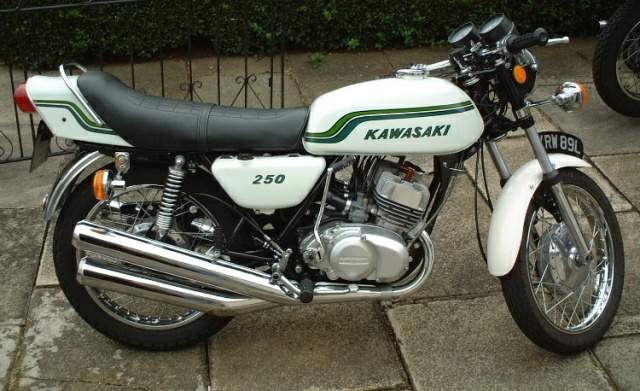
hours later it was on the bike and I fitted the original Californian
number plate to complete the job.
.jpg)
.jpg)
.jpg)
Devil’s in the detail
Of course it was not really finished as I had to check
all the fixings were tightened up to the correct torque, all the circlips,
clips etc. were all fitted correctly, adjusted drive chain and rear brake
and so on and probably lots more things to discover still needed some TLC.
As I was lucky enough to have another triple to ride I decided to leave
this one in a dry stored state for a while at least, so resisted the
temptation to add fuel and oil and swing on the kick-start.
Just in case I’ve made it all sound like plain sailing I can assure you I
had the customary grazed knuckles and several temper tantrums, dummy
spits and “is it all worth its” along the way. Also I had some amusing
moments when you just have to laugh at yourself for being so stupid.
Overall though, it was immensely satisfying.
Time to contemplate
Has it all been worth while? In pure dollar terms
probably not. But if you want one of these bikes in restored condition,
you just have to bite the bullet. I can see why the professional
restorers’ prices may seem so high; they have to take into account their
time, I didn’t.
I have listed most of my costs but inevitably some get by you, as does
all the running around incurred along the way. However I do have actual
costs rather than some of the folklore you may hear from time to time.
In terms of keeping a little bit of two stroke triple history going it
was most definitely worthwhile. I have to say that if I had been waiting
on this bike to be finished so I had something to ride it would have NOT
been half as enjoyable as it turned out to be.
Keep it upright (especially after all that work)
Mal
